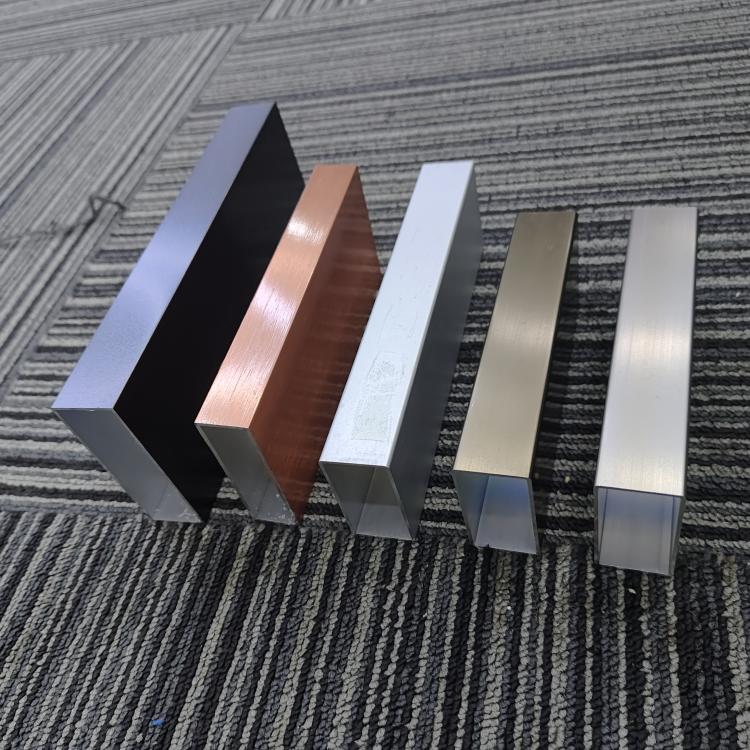
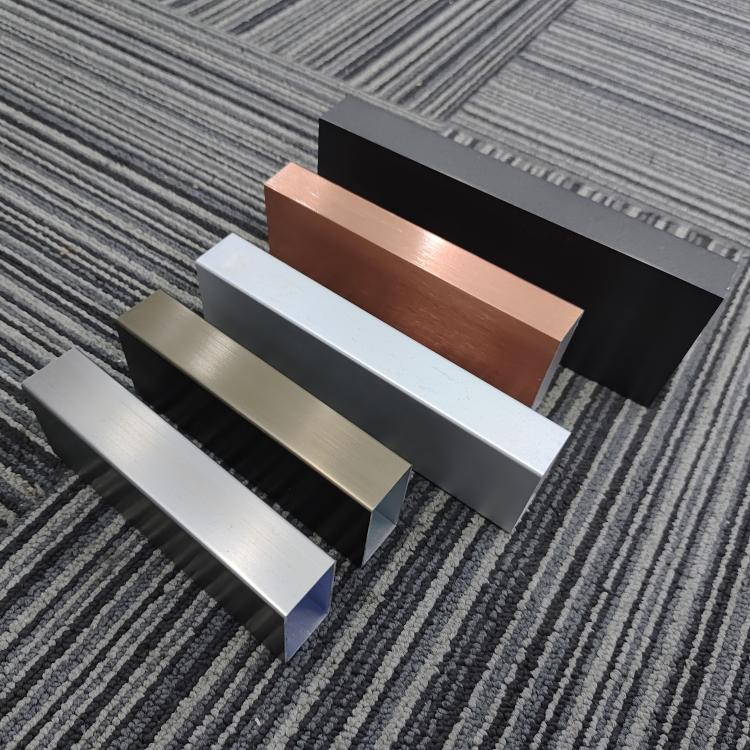
Rina takes you on today’s journey together
Hey there, curious minds! Rina Meng, your favorite aluminum aficionado, is here to unravel the enigma that is aluminum extrusion. Get ready to dive into a world where aluminum transforms from a solid cylindrical billet into fully-formed profiles. It’s like witnessing magic unfold right before your eyes! So, buckle up and join me on this exciting journey as we explore the secrets of aluminum extrusion.
Step into the Extrusion Wonderland: The Ten Steps of Aluminum Transformation
Picture this: we’re about to embark on a journey through the ten steps that bring aluminum to life. It’s like entering a whimsical wonderland where aluminum takes on new shapes and forms. So, let’s dive right in and demystify the process of aluminum extrusion!
Step 1: Designing the Die
First things first, we need to design the die—the mold that shapes the aluminum. It’s like creating a blueprint for our extrusion adventure. We use H13 steel because, let’s face it, we need something tough to handle the aluminum’s transformational power. The die is preheated to a toasty temperature between 450°C and 500°C, ensuring maximum durability and optimal metal flow. It’s like giving the die a warm-up session before the real action begins!
Step 2: Preheating the Cylindrical Billet
Now, let’s talk about the star of the show—the cylindrical aluminum billet. We cut it from a log of aluminum alloy and give it a warm embrace in an oven heated to a sizzling 400°C-500°C. It’s like giving the aluminum a cozy blanket, making it malleable enough to undergo the extrusion process. But hey, we don’t want it to turn into a molten mess. We’re all about finding that perfect balance!
Step 3: Transferring the Billet to the Press
It’s showtime, folks! We apply a slick lubricant or release agent to the surface of the aluminum billet and the extrusion ram. We wouldn’t want them to stick together like two magnets, right? With a little mechanical push, the billet makes its way to the extrusion press. It’s like sending our aluminum hero to the stage, ready to shine!
Step 4: Pushing the Billet into a Container
Get ready for some serious action, my friends! The hydraulic press flexes its muscles and applies up to a whopping 15,000 tons of pressure on the aluminum billet. It’s like a superhero force, pushing the billet into the container of the extrusion press. The aluminum expands and fills the walls of the container, taking on the shape we desire. It’s like watching a sculptor mold clay into a masterpiece!
Step 5: Obtaining the Extruded Profile
Hold your breath, because this is where the magic happens! With continual pressure, the aluminum billet emerges from the die openings as a fully-formed aluminum profile. It’s like witnessing a butterfly emerge from its cocoon, ready to spread its wings and take flight. But hey, we don’t want any pesky oxides ruining the party. So, we introduce nitrogen to create an inert atmosphere, keeping our aluminum hero in top-notch shape. It’s like a protective shield, ensuring our extrusion process goes smoothly.
Step 6: Cooling the Extruded Profile
Our freshly extruded aluminum profile needs a cool-down session. It passes onto a run-out table and is greeted by a refreshing water bath or a fan-powered breeze. It’s like giving our aluminum hero a spa treatment, cooling it down and preparing it for its next adventure.
Step 7: Shearing the Aluminum Profile to Table Length
Now, it’s time to give our aluminum profile a haircut! A hot saw steps in and shears the profile at its full table length. It’s like a stylist giving a precise trim, ensuring our extrusion is looking sharp. But hey, don’t expect it to be fully cooled just yet. We’re not done with our aluminum hero!
Step 8: Cooling Aluminum to Room Temperature
Our extruded profile needs some time to chill. We transfer it to a cooling table, where fans work their magic and cool the aluminum to room temperature. It’s like a cool breeze on a summer day, giving our aluminum hero a chance to relax and settle into its final form.
Step 9: Stretching into Alignment
During the cooling process, our aluminum hero might experience a little twist. But fear not! We move it to a stretcher, where it receives some gentle stretching and straightening. It’s like a yoga session for our extrusion, ensuring it’s in perfect alignment. We’re all about that balance and harmony!
Step 10: Cutting Extrusions to Length
It’s time for the grand finale—the final cut! Our hardened extrusions make their way to the saw table, where they’re cut to the required length. It’s like a tailor giving our aluminum hero its perfectly fitted suit. We’re all about that custom fit, my friends!
But wait, there’s more! We’re not done just yet. Our extrusions need a little extra love. We treat them to a heat session inside an age oven, speeding up the aging process and enhancing their mechanical properties. It’s like giving our aluminum heroes a rejuvenating spa treatment, making them even stronger and more resilient.
In Closing: Unraveling the Aluminum Extrusion Enigma
Overall, my fellow adventurers, aluminum extrusion is a fascinating process that brings aluminum to life in remarkable ways. It’s like a magical journey of heat, pressure, and transformation. Together, we’ve unveiled the secrets behind this enigmatic process and witnessed the birth of incredible aluminum profiles.
Thank you for joining me on this thrilling adventure. Remember, my friends, when it comes to aluminum extrusion, there’s a whole world of wonder to explore. Keep embracing the magic, keep pushing boundaries, and may your aluminum endeavors be filled with excitement and success!
Stay extrusion-tastic, and catch you on the flip side!
Catchphrase: Unleash the magic of aluminum extrusion and shape your world!

